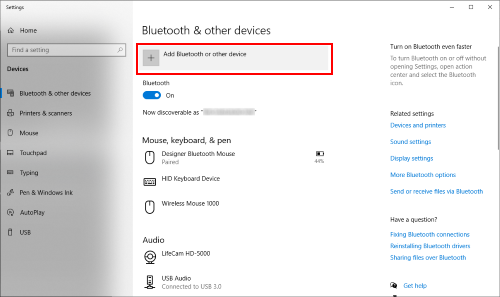
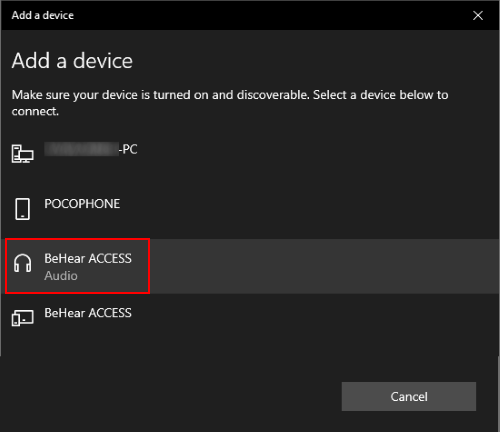
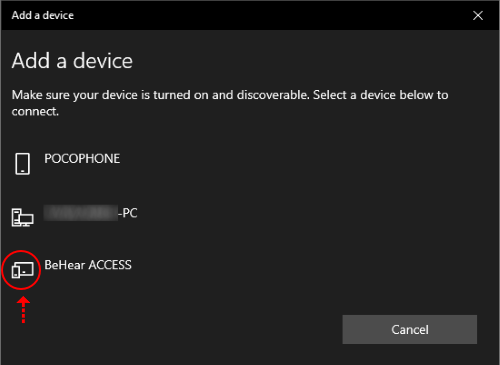
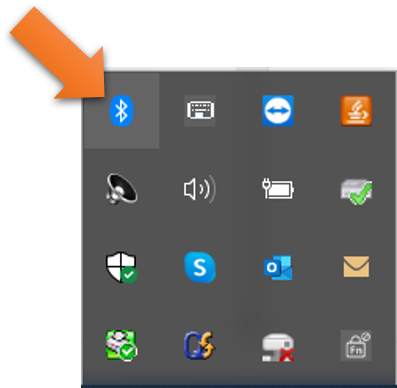
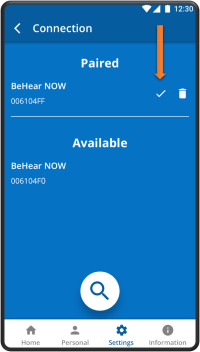
Note: If you don’t follow the sequence detailed above, and instead start searching for new device in the PC while your headset is simply ON (not in pairing mode), BeHear will appear in the list as unknown device, with no “audio” under the name and no “headphone” icon next to it. Connecting to this device will not activate BeHear as a headphone/headset. Make sure that the Bluetooth option on your computer is set to “on”. This option is usually found in the “Settings” section, “Bluetooth and Other Devices” sub-section. On Windows computers you can quickly access the Bluetooth settings from the action center in the system tray. If you don’t see the Bluetooth icon here it may be an indication that Bluetooth is not active. In this case, go to the computer Settings → Devices and make sure the Bluetooth switch is ON. If it is not, slide it to the right to activate Bluetooth. A grayed-out Home button indicates that the headset is not connected to the app. Go to Settings->Connection and verify that the headset is in the Paired Devices list. If you don’t see the BeHear device in the list you’ll need to pair it — see the video links below for instructions. When the headset is connected properly a checkmark will appear. If there is no checkmark, tap the name of the headset in the list of Paired devices to re-connect the headset. Another way to reinstate the connection is with a short press on the headset’s Power button. For more information about pairing your headset with the app, watch these videos: Absolutely! BeHear headsets can support multiple audio sources simultaneously. For example, you can listen to media on your laptop, and still be connected to your mobile phone. For each additional Bluetooth device you would like to link to the BeHear headset you will need to perform the pairing procedure (placing the headset into “Pairing Mode” by turning it OFF, and then pressing the power button for several seconds until the LED flashes red/blue). For more information, use this link to see the video instructions, or this link to read the manual. Yes, absolutely! Depending on the application, BeHear may appear either as a headset or as a headphone, just like most other Bluetooth headphones. For most music players it will be listed as a “headphone” while for messaging services, such as Skype/Viber/WeChat etc., it will be listed as a “headset”. Depending on the application, BeHear may appear either as a headset or as a headphone, just like most other Bluetooth headphones. For most music players it will be listed as a “headphone” while for messaging services, such as Skype/Viber/WeChat etc., it will be listed as a “headset”.
Operating Instructions
Technical
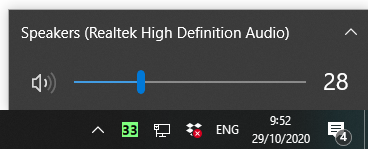
The name that appears should be “BeHear” and not “Speakers”. If you see the name “Speakers” click the ^ (arrow). If the BeHear is connected properly you will be able to see it listed under the list of playback devices. Choose the “Headset” option. 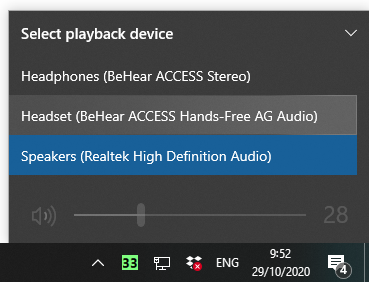
Contact Us
BeHear – Alango Technologies Ltd
2 Etgar Street
Tirat Carmel, 3903213 ISRAEL


General Inquiries
For more information about our assistive hearing products, please complete the form below.